Print or Email a Class Invitation Letter
This topic explains how to prepare a letter inviting workers to attend a training class. The letter can be printed out for mailing and it can be emailed to workers with a verified email address. For emailed letters, the text of the Word document is included in the body of the email.
The instructions here assume that you have set up the class and have assigned students to it. We also assume you understand how to use the mail-merge processing Microsoft Word, should any changes to your county's standard class-invitation letter be required.
The mail merge document used by this feature is specified in the document specification named PW Class Invitation. To find this document, go to PRINTING > Document Maintenance > EW Class Invitation > Select Document. This document specification is set up by VR Systems and should look something like the screenshot here. The fields circled in red can be modified, but all other fields on the dialog should remain as they are.
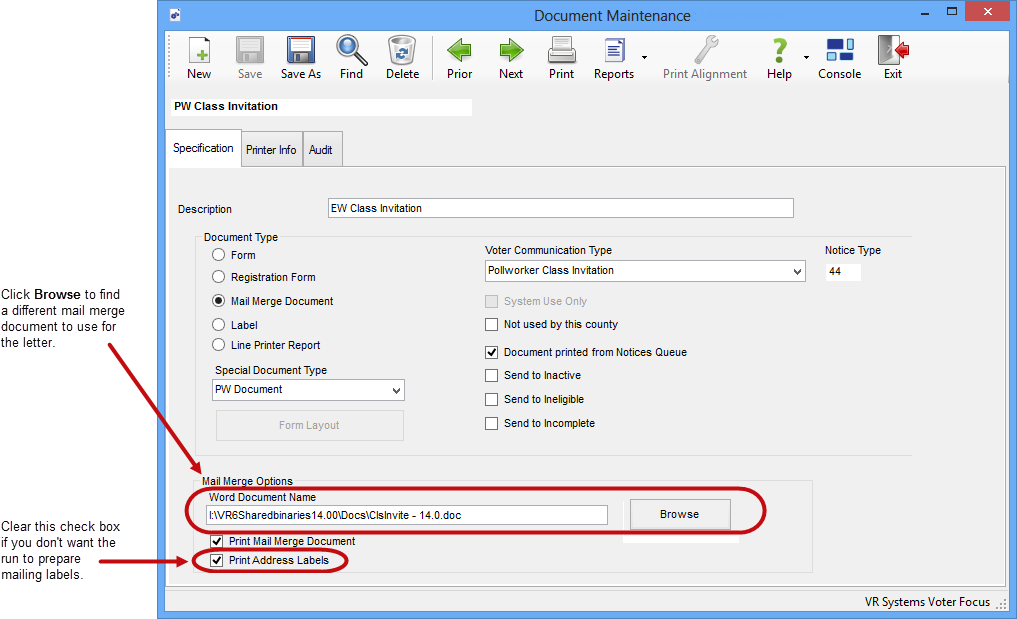
Before the run, we suggest you open the mail merge document in Word and verify it has your county's letterhead and all the mail merge fields you want to use. For example, you might want to add a response form or page that the worker mails in or brings to class. The class-invitation letter uses the standard Voter Focus mail merge data file—MrgVoters.txt—so if you want to add mail merge fields, obtain them from this data file. (MrgVoters.txt is in the folder \VR6SharedBinaries.)The date on the letter will automatically be set to today's date.
If the letter is not on your system and you don't want to create it from scratch, contact VR Systems and we will send you the standard version of clsinvite.doc, which you can customize for your county.
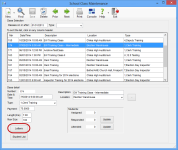
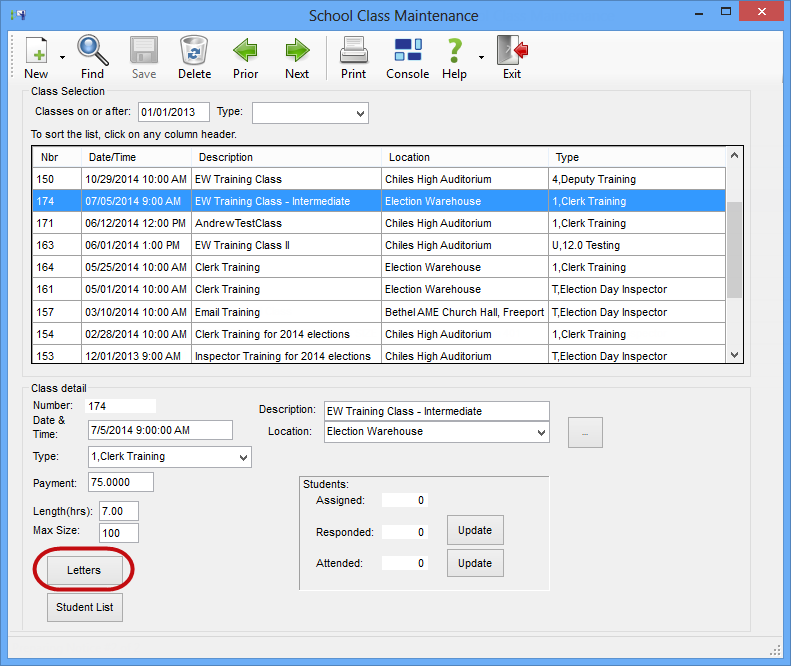
- Go to ELECTION WORKERS > Train Workers to open the School Class Maintenance dialog.
- In the list of classes, highlight the class you want to invite workers to attend. The class information appears below the list of classes, in the fields of the Class Detail box.
- Click Letters.
- On
the Delivery Selection
dialog,indicate how you want the letters delivered—by mail and/or
email—and click Continue.
You'll see the following message:
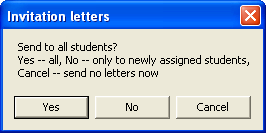
- To send the letter to all students assigned
to the class, click Yes. If
you've already sent this letter to some students and now you just
want to send it to students who were assigned to the class after the
first letter went out, click No.
Either way, you'll see the following message:
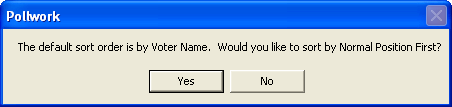
- Choose the way you want the letters sorted—by worker last name (No)
or their normal work position (Yes).
You'll then see a message indicating how many workers were found and
the number to go out by email and mail (paper):
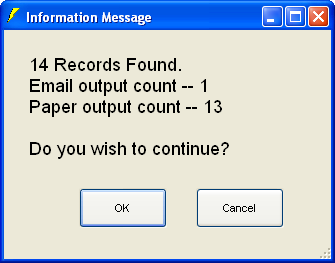
- If you are printing letters in this run, make a note of the number for Paper output count and click OK.
- Email
deliveries. If you chose to send emails and workers with verified
email addresses were found, the following message shows how
many emails were sent and how many failed:
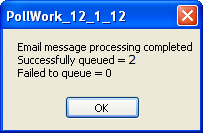
- Click OK
to close the message.
The Email Status Report opens, showing the workers to whom the class-invitation letter was emailed (Status will be Queued) and any whose email failed to go out (Status will be Failed). An entry on the Comms tab in voter records is made for the workers whose email went out. (The entry will be: Email: Communication from the <county> <state> Supervisor of Elections office.) If any emails failed to queue, we suggest you print or export the report, close it, and continue with the run. Then determine why the emails failed and rerun the letters.
- USPS deliveries. If you chose to send printed letters, you see the Windows Print dialog. Select a printer for the letters and click OK.
- If the document layout for the letter
has Print Address Labels selected,
a Crystal Report containing the label information in 3-up format displays. To print the labels, click the
 icon on the Crystal Reports toolbar.
 - When you see the Confirm
Print dialog, verify that the number of letters you noted in
step 7 matches the number of letters printed and that all letters
printed properly.
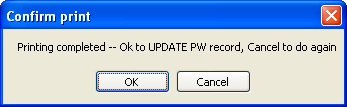
- If there are no problems, click OK
to update each worker's record to show that a letter and/or email was
sent. Each worker's record is updated to indicate that the correspondence was
generated. This information appears in the following places in Voter Focus:
- In the Date Last Contacted field on the General tab of the worker's Worker Maintenance dialog.
- As an entry on the Audit and Notes tabs of the Worker Maintenance dialog.
- If you selected Record sending of this document in Voter Communications at the time you set up the document specification in Document Maintenance, you will see two entries in the worker's voter registration record. First, an entry on the Comms tab showing the Communication Type. And second, on the Audit tab, an entry showing an outgoing communication.
It there are problems with printing the letters, click Cancel to abort the run. Worker records will not be updated and you can rerun the job after fixing the problem.